Wifi programmable irrigation controller using SONOFF 4CH Pro R3
November 20, 2023
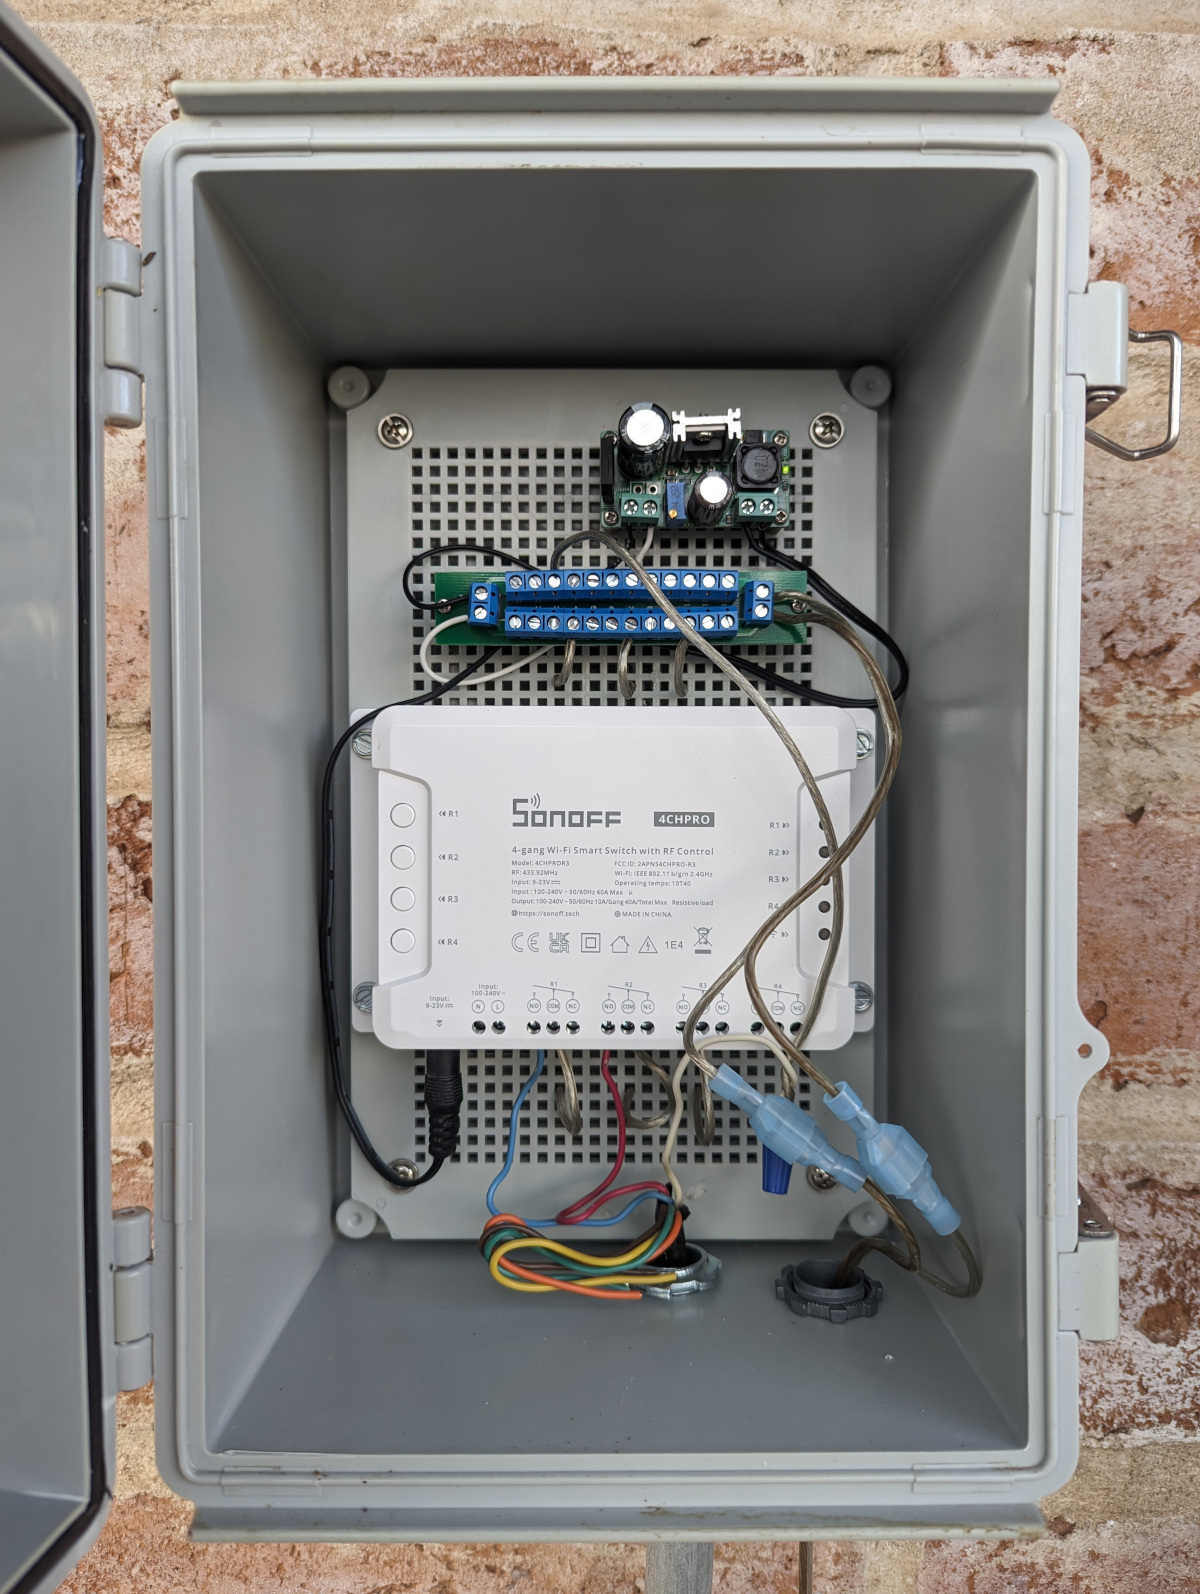
The SONOFF 4CH Pro R3 is an ideal starting point for a DYI irrigation controller. Like all the other SONOFF smart switches, the 4CH Pro R3 is built on the Espressif ESP8266 chip, which can be flashed with free and open-source firmware like Tasmota. But what makes the 4CH Pro R3 special is its four dry relays.
A "dry relay" is a relay that switches a circuit separate and isolated from the circuit that powers the relay. That's important for this application, because our irrigation valves run on 24 volts AC.
Most of the SONOFF smart switch products are "wet" designs that are powered by 100 - 240V household voltage, and output that same voltage from their relays when switched on. That kind of setup works great if you're using it to control something that runs on household current, like a lamp. But it doesn't work when the voltage you need is 24 volts AC.
The 4CH Pro R3 itself runs on 12 volts DC. Actually, it says it will run on any DC voltage between 9 and 23. Not wanting to test the edges of this range, I supplied mine with 12VDC. I obtained my 12VDC via a cheap, variable-output buck converter, which I mounted to the removable perf board in the back of my waterproof outdoor housing.
Items used to make this controller
1. TICONN Waterproof Electrical Junction Box
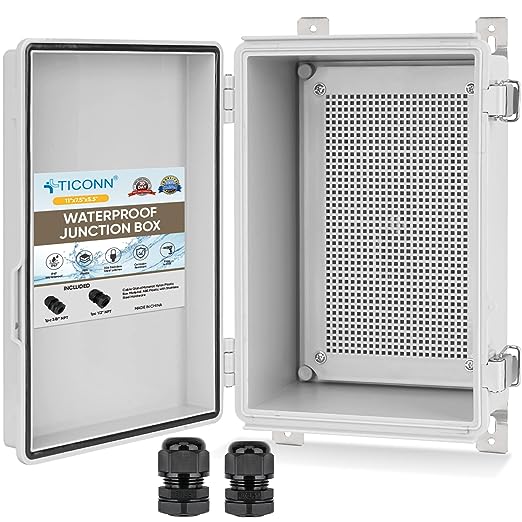
This outdoor enclosure, which has a hinged door with sturdy metal latches, is tough, looks great, and is easy to use.
The removable perf board in the back makes it easy to mount components using standoffs and connect them using jumper wires.
2. Acxico Mini AC DC to DC Buck Step Down Adjustable Volt Converter

These little gadgets are great for steppng down and rectifying AC from low-voltage sources, like the 24 volt AC power supply I'm using to power this unit and my irrigation valves.
Just connect it to its power source, then, using a meter, adjust the output voltage by turning the brass screw in the middle of the unit.